A Beginner's Guide to Drone Photography: Exploring New Angles
Embarking on the journey of drone photography offers an incredible new dimension to the art of capturing images. Instead of being bound to the ground, photographers can now soar through the sky, capturing unique aerial perspectives that were once limited to birds and aircraft. This guide will help beginners navigate the basics of drone photography, focusing on different photographic elements, compositions, and angles you can explore.
Understanding Your Drone's Camera
Drone cameras vary in specifications and capabilities, but there are a few common features. Most drones come with a wide-angle lens, which is great for capturing expansive views. However, this might also lead to distortion around the image edges. Understanding how your camera works will allow you to make the most of its strengths and work around its limitations. Some cameras are also equipped with different features or software, so finding creative ways to make your drone work for what you need is all a part of the process.
Exploring Different Angles
Drone photography is all about exploring new angles. Here are a few perspectives you can experiment with:
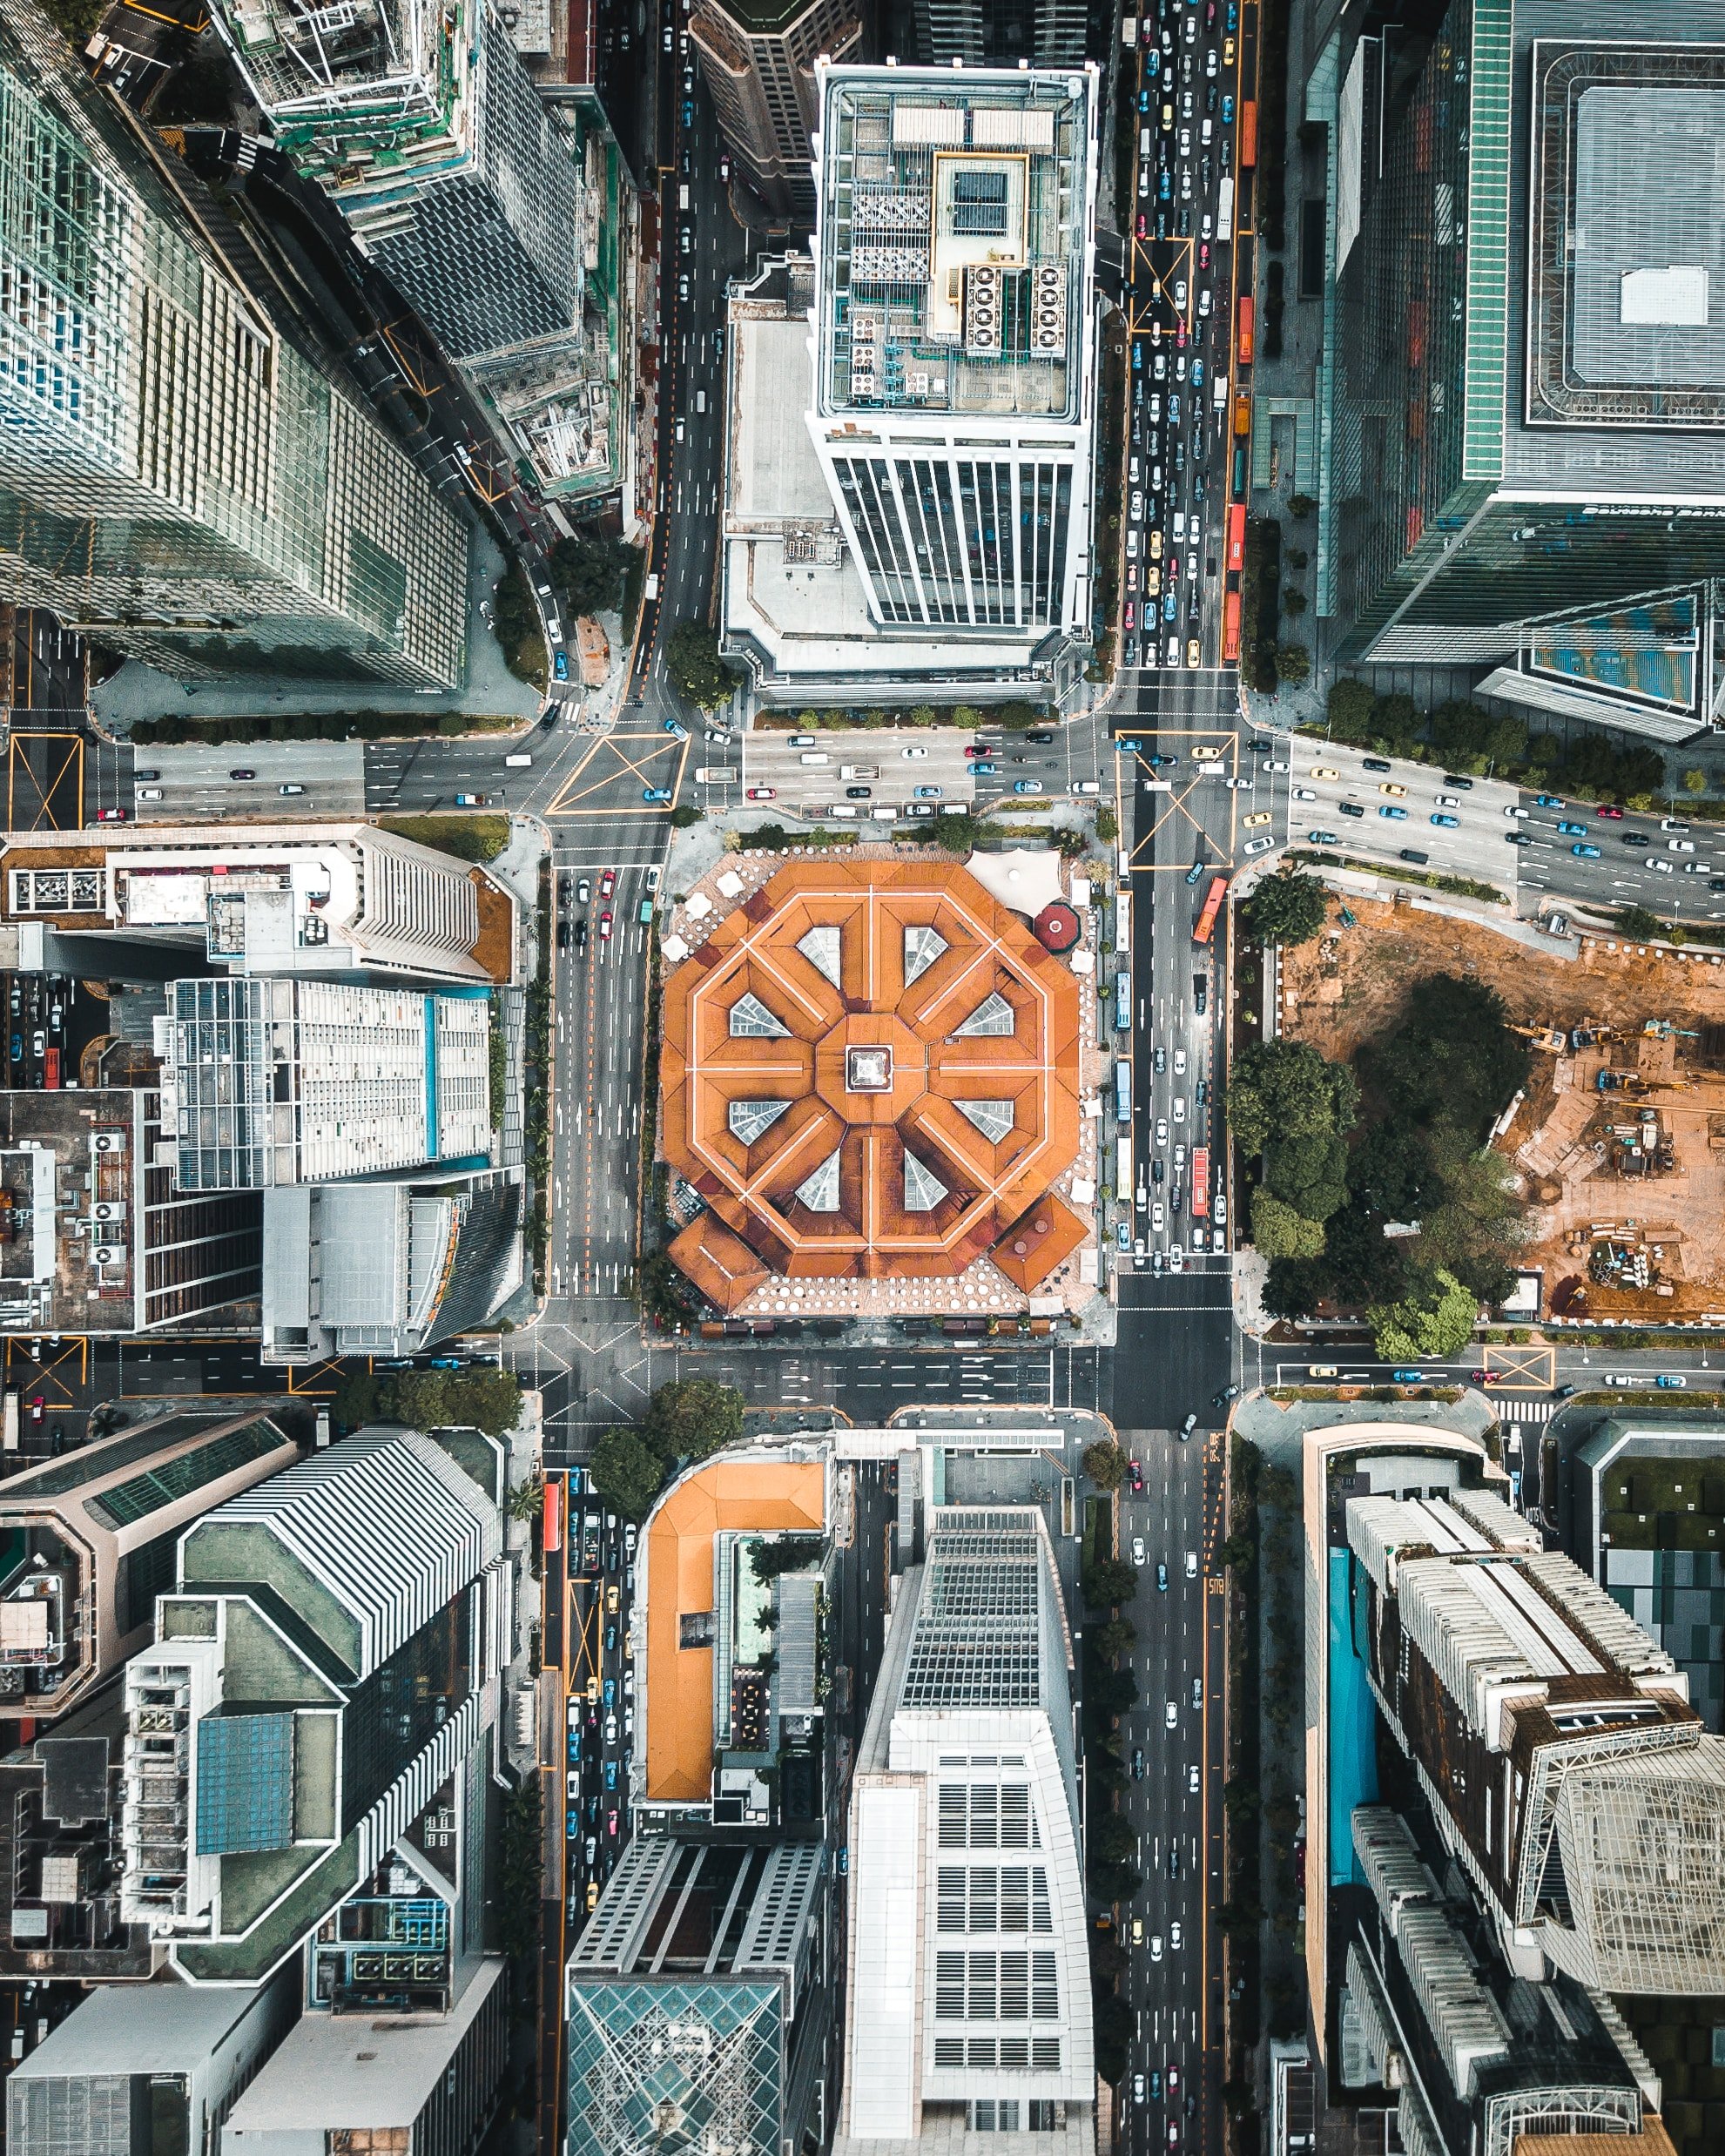
Bird's-eye view: This is a direct overhead shot, giving a unique perspective that isn't typically seen by people in day to day life.
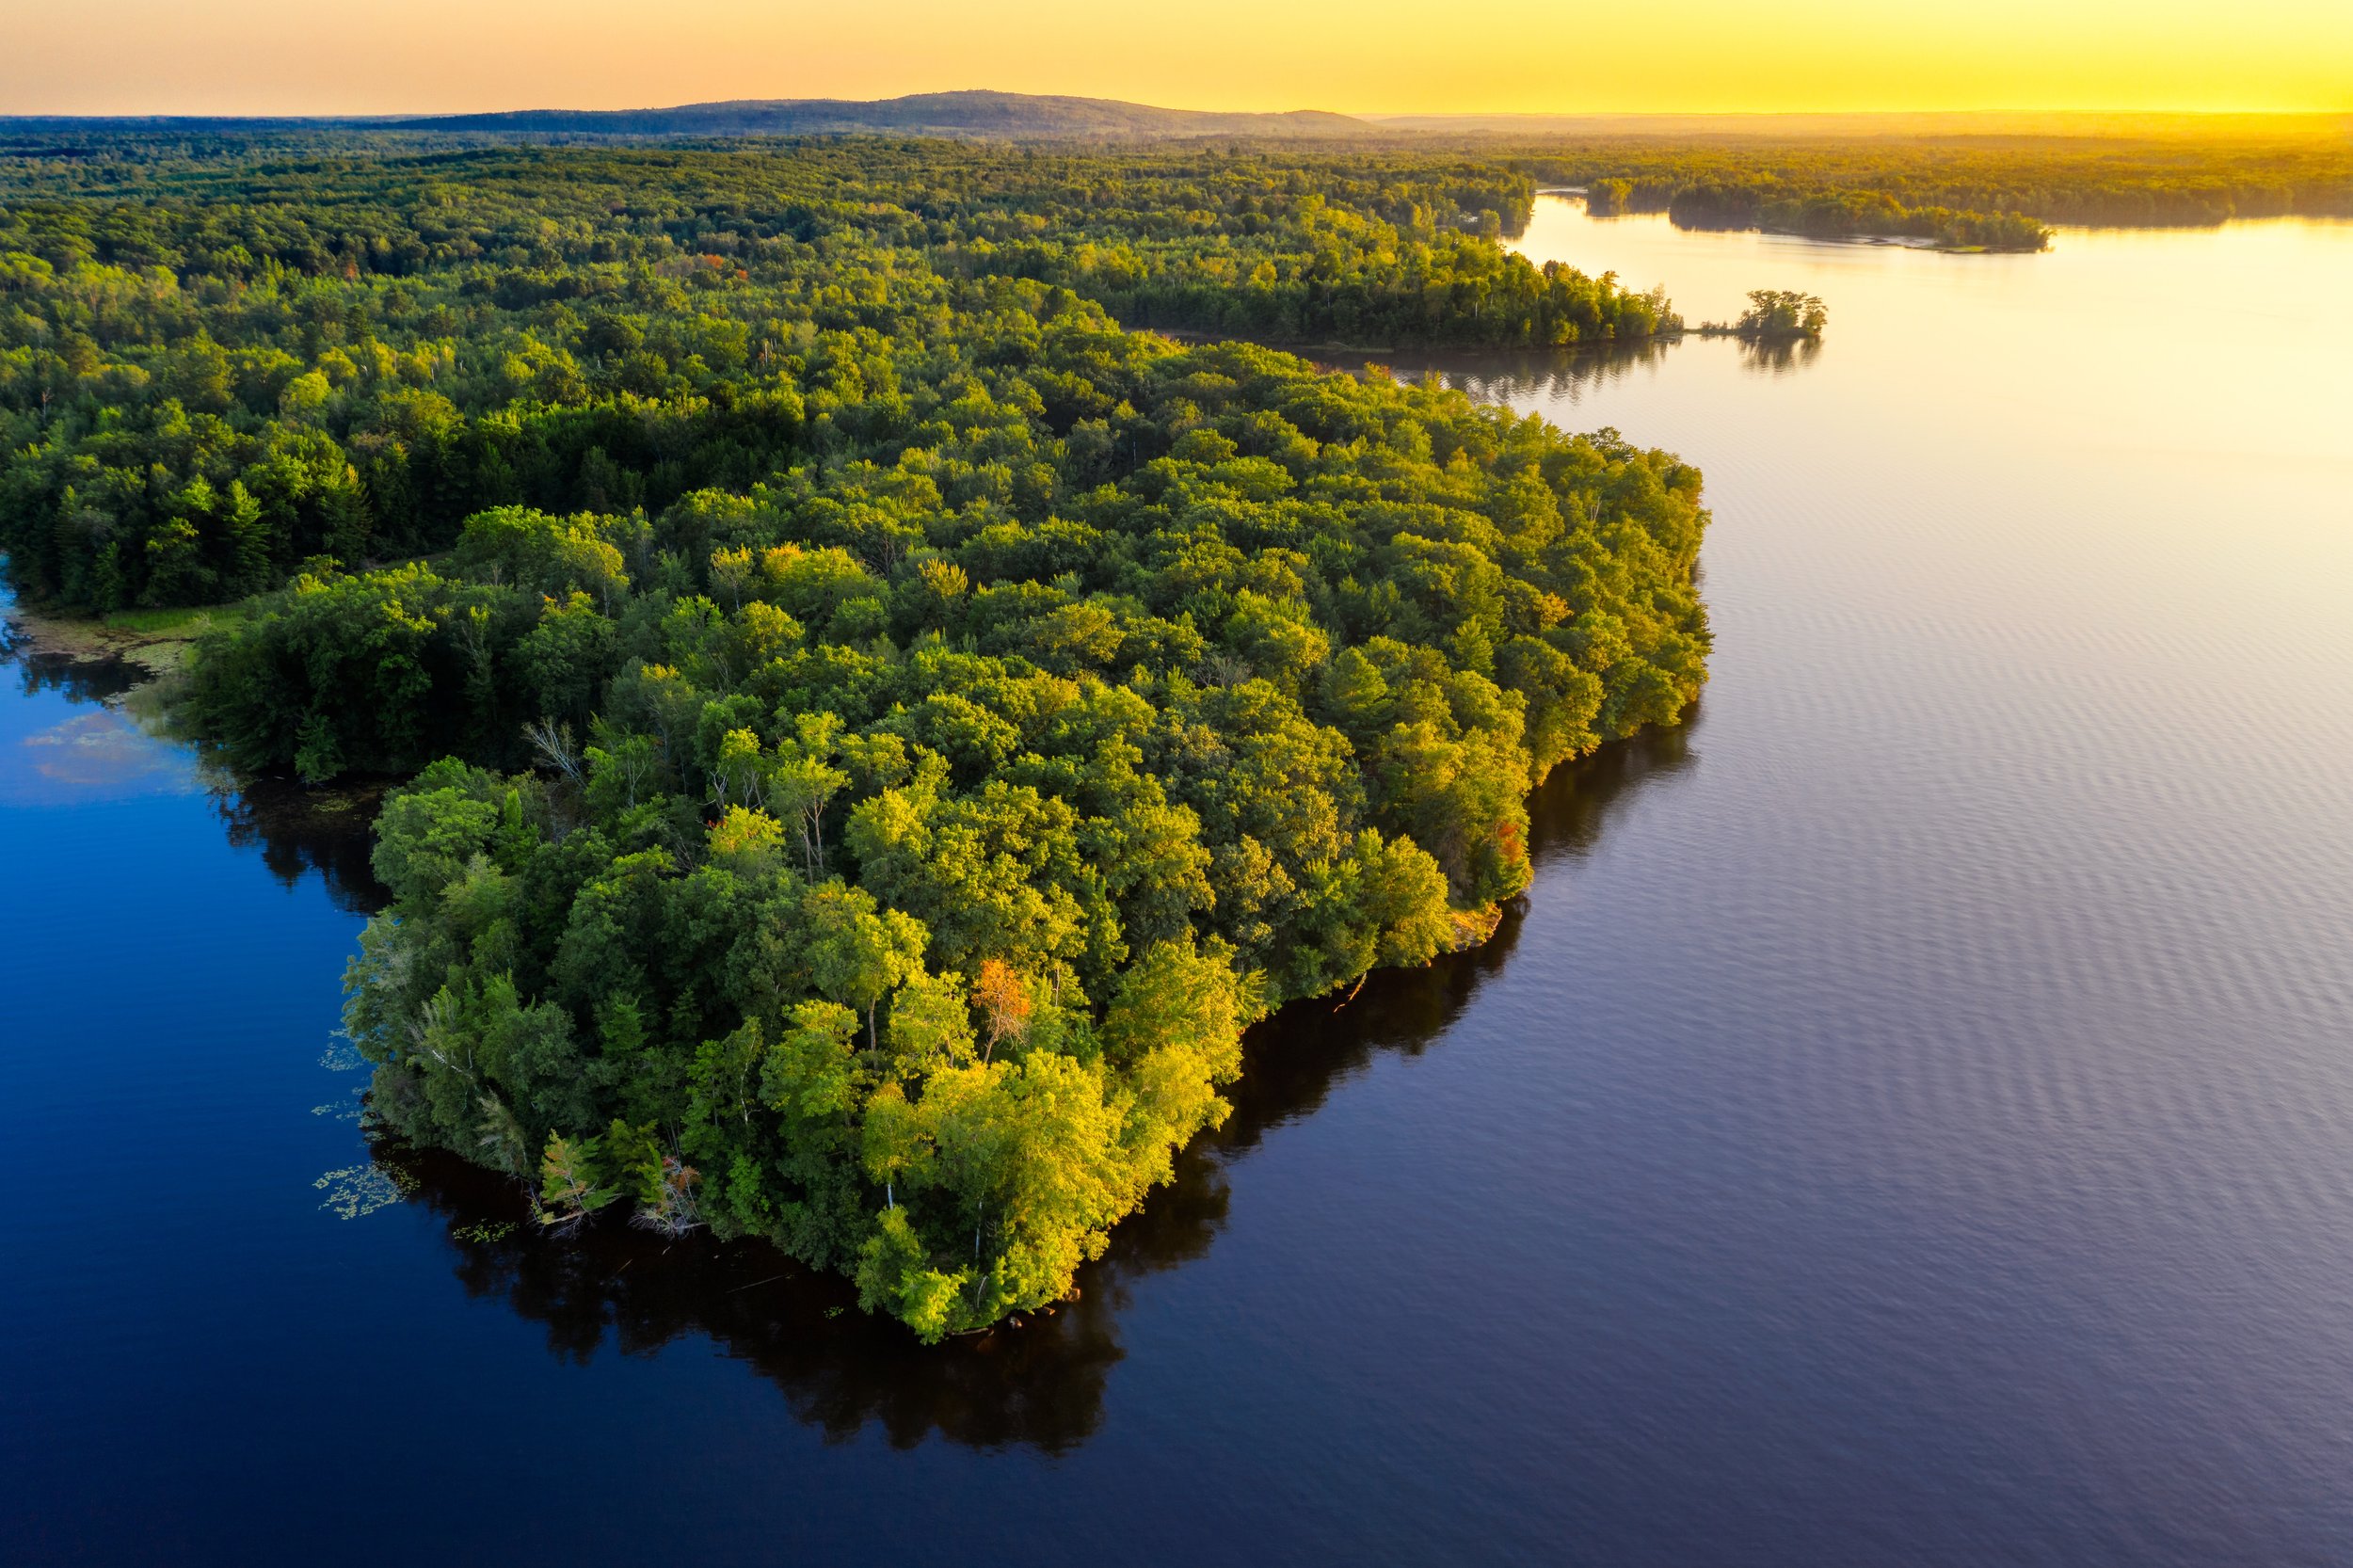
Oblique angle: This is when the camera is tilted at an angle, showing the horizon and providing a sense of depth.
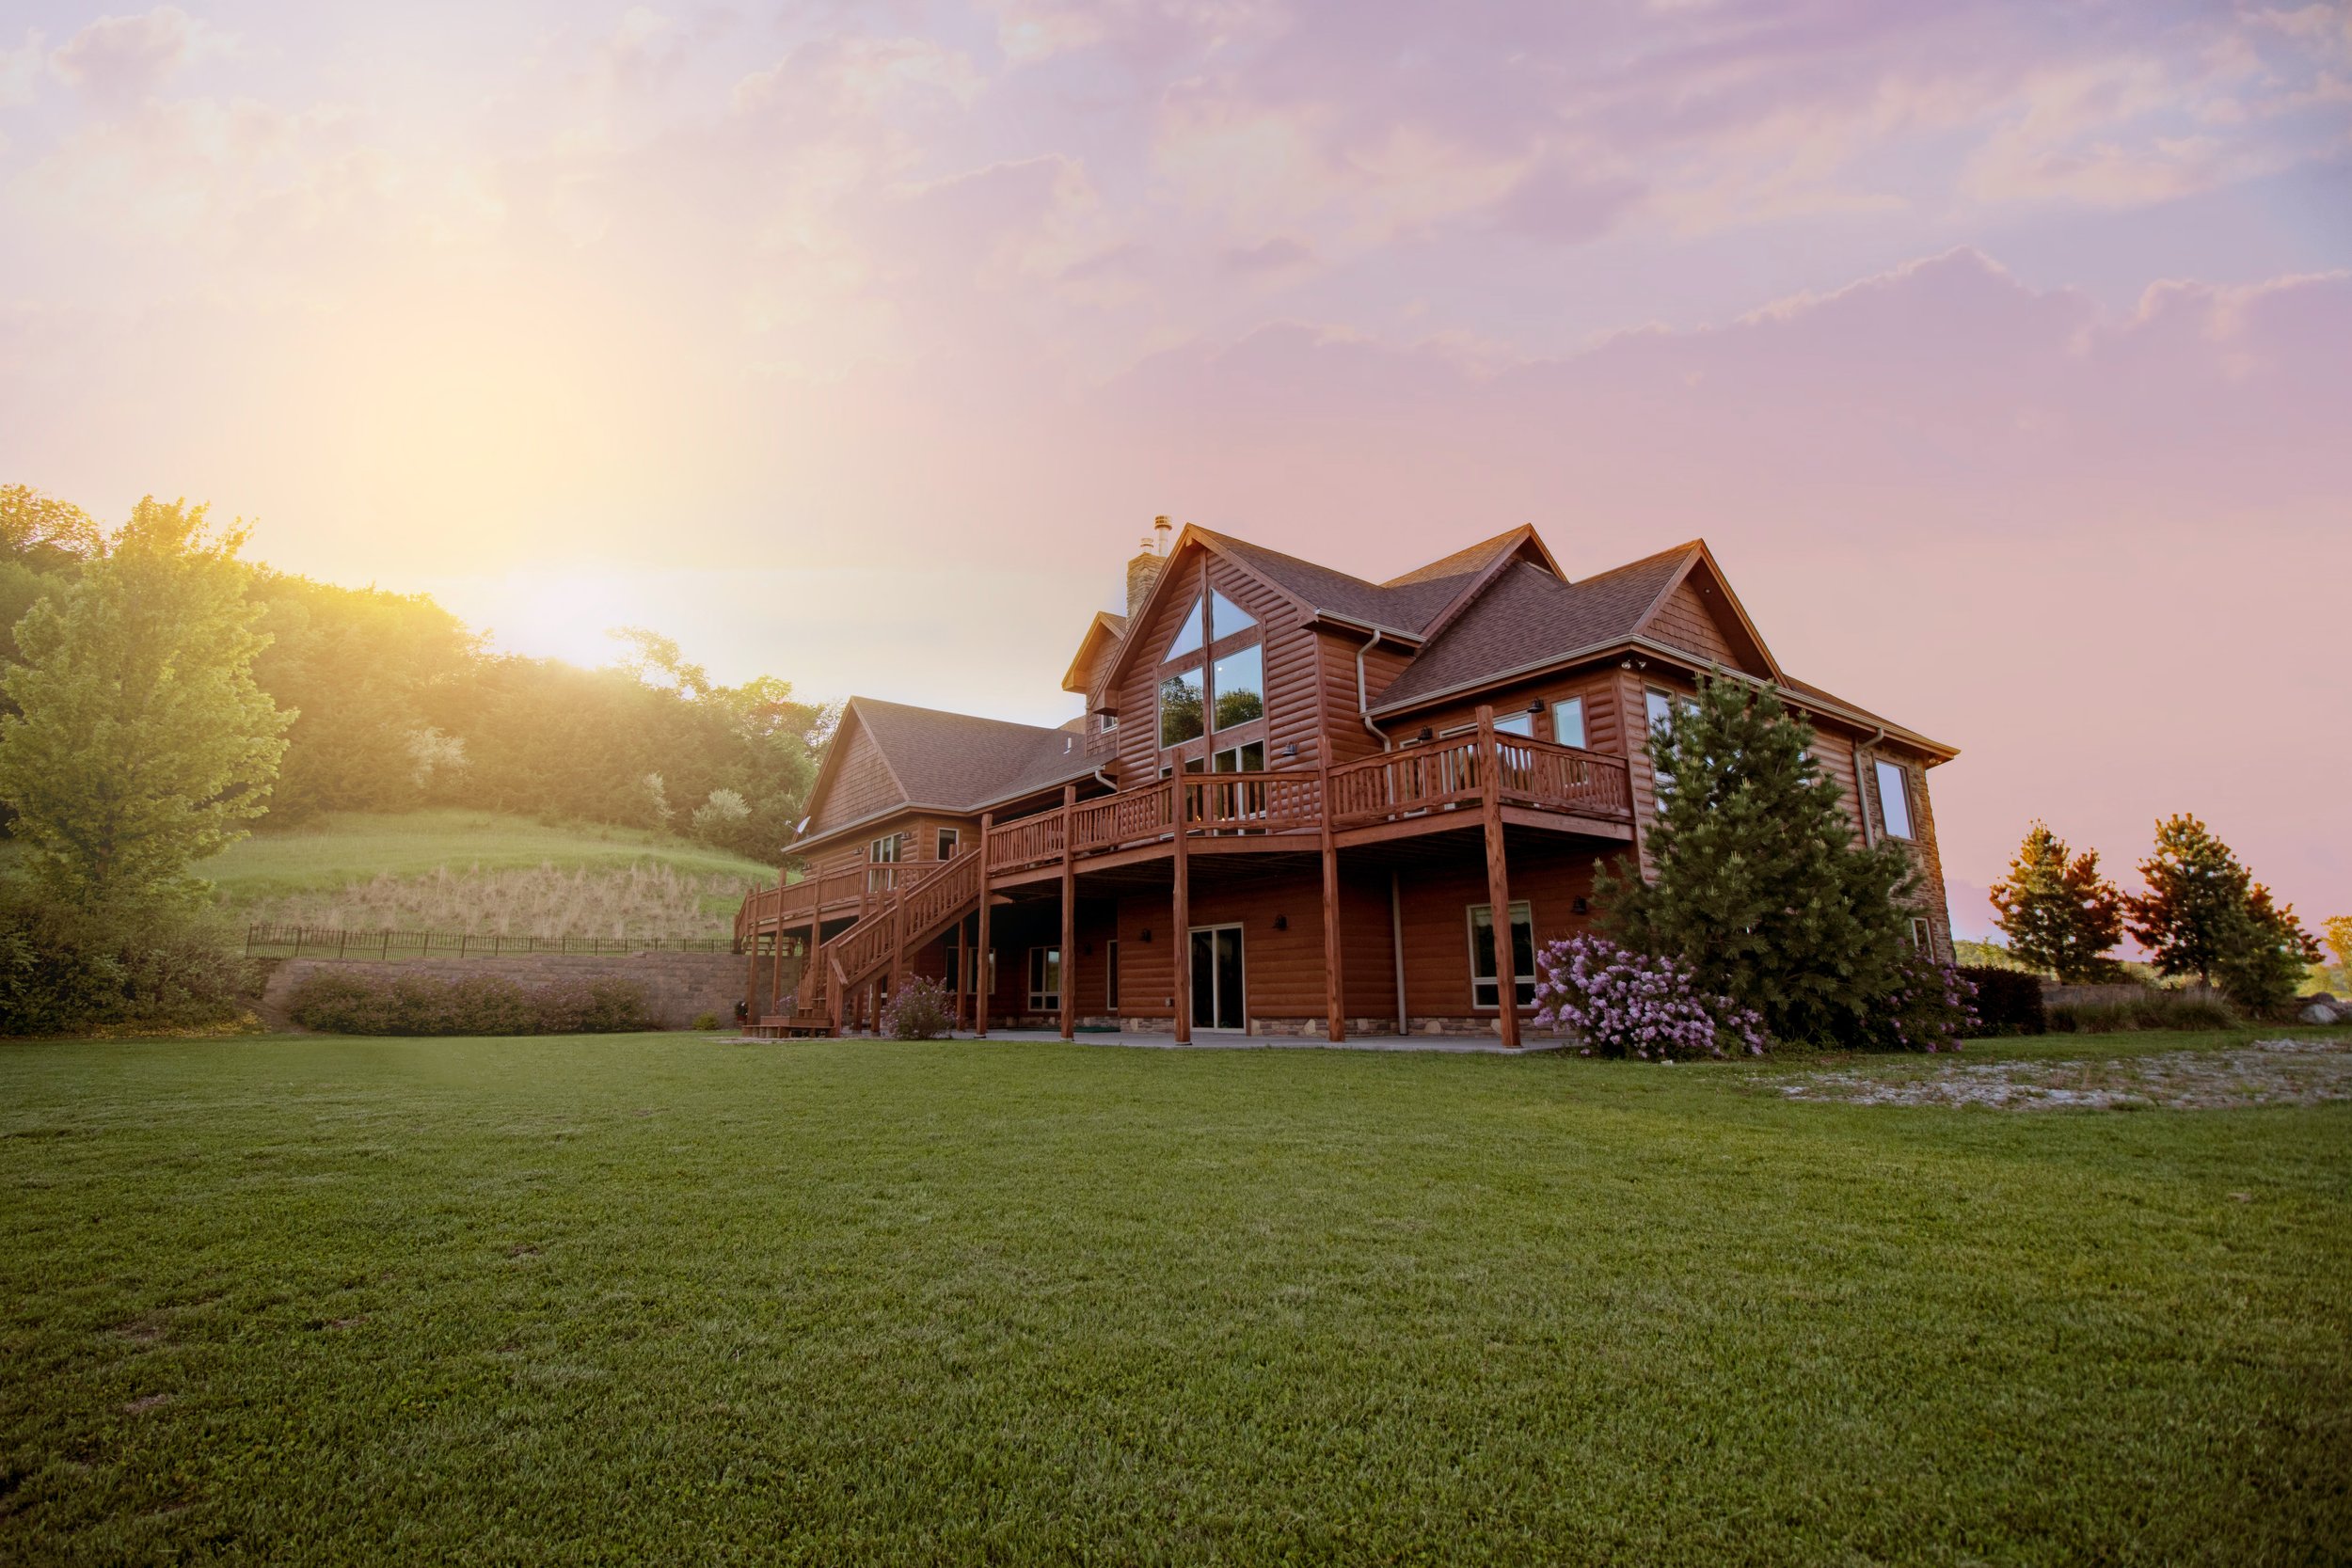
Low altitude: Despite being able to fly high, sometimes keeping the drone at a lower altitude can provide interesting, cinematic shots, think of real estate photos of a house, showing the backyard and house.
Composition Techniques
A good photograph is often a result of a well-thought-out composition. A few drone-specific composition techniques can enhance your images:
Leading lines: Roads, rivers, trails, fences, are all things that can help lead a viewers eye through your photo or to a subject. They are essentially used to draw attention in an image.
Shadows: At different times of the day, the sun casts varying shadows. These can create interesting lines or depth in an image that would otherwise be lacking.
Using colours: Look for the contrast between different objects & things in the scene to create a more visually interesting photo.
Experimenting with Light and Time
Light plays a crucial role in the outcome of your photography. Shooting at different times of the day can result in varying mood and tones:
Golden hour: This is the first hour after sunrise and the last hour before sunset. It casts a golden hue and long shadows, perfect for portraits and creating warm and interesting colours.
Blue hour: This is the period of twilight in the morning and evening when the sun is below the horizon and the sky takes on a nice dark blue.
Midday: This time of day offers the most light, but can also create harsh shadows, resulting in very high contrast images.
Creating Vertical Panoramas
While shooting, if your drone's camera is not able to switch to a portrait orientation, which is common on more budget drones like the Mavic Mini, you are still able to create portrait photos! This is done by taking multiple photos in landscape orientation and tilting your drones camera up or down each photo, capturing in multiple photos what can be stitched together to form a portrait photo. Essentially, you just need to imagine that the portrait photo you are trying to capture is split into 3 landscape photos, which will then be stitched in Lightroom or Photoshop.
Post-Processing Your Images
After shooting, images can be enhanced in editing software like Adobe Lightroom or Photoshop. Editing can help adjust colours and contrast, among many other things, which can create a more visually striking image.
There are many tutorials on Youtube to learn more about Lightroom and how to edit anything from portraits to landscapes.
Drone photography combines creativity with technical skills. It's a playground where you can experiment with new angles, compositions, and lighting conditions that you could never get with a normal DSLR. You will have unlimited opportunities for expanding your creativity and creating new and engaging content!
Enjoy the flight and happy shooting!
- FlySmart Team


